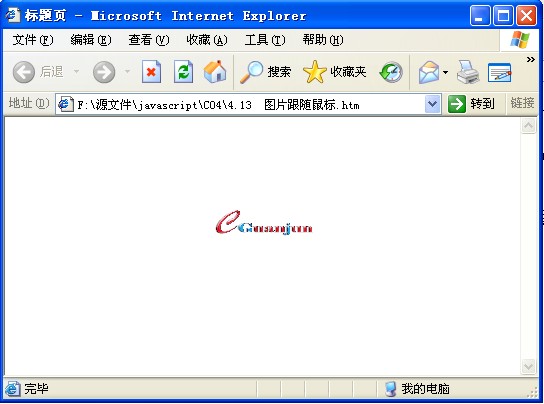
图片跟随鼠标JS代码如何写
【实例名称】
图片跟随鼠标JS代码
【实例描述】
要在网页中捕获鼠标的位置,需要借助于鼠标的移动事件。本例将通过绑定鼠标的移动事件.为鼠标提供一个特效,让图片一直跟随。
【实例代码】
<SCRIPT LANGUAGE="JavaScript">
   var newtop=0;
   var newleft=0;
   divStyleRef="layer.style.";
   layerRef="document.all";
   mystyle=".style";
   function doMouseMove()
   {
 layerName = 'myimg';    //获取包装图片的div
 eval('var curElement='+layerRef+'["'+layerName+'"]');
 eval(layerRef+'["'+layerName+'"]'+mystyle+'.visibility="hidden"');
 eval('curElement'+mystyle+'.visibility="visible"');
        //设置div的显示位置-坐标和高度、宽度
 eval('newleft=document.body.clientWidth-curElement'+mystyle+'.pixelWidth');
 eval('newtop=document.body.clientHeight-curElement'+mystyle+'.pixelHeight');
 eval('height=curElement'+mystyle+'.height');
 eval('width=curElement'+mystyle+'.width');
 width=parseInt(width);
 height=parseInt(height);
       //鼠标移出边界时的div位置的判断
 if (event.clientX > (document.body.clientWidth - 5 - width))
 {
 newleft=document.body.clientWidth + document.body.scrollLeft - 5 - width;
 }
 else
 {
 newleft=document.body.scrollLeft + event.clientX;
 }
 eval('curElement'+mystyle+'.pixelLeft=newleft');
 if (event.clientY > (document.body.clientHeight - 5 - height))
 {
 newtop=document.body.clientHeight + document.body.scrollTop - 5 - height;
 }
 else
 {
 newtop=document.body.scrollTop + event.clientY;
 }
 eval('curElement'+mystyle+'.pixelTop=newtop');
    }
    document.onmousemove = doMouseMove;
//绑定鼠标移动事件
    //动态输出div和图像-默认情况下图像隐藏
    document.write('<div ID=mydiv>');
    document.write('<img ID=myimg src="LOGO1.gif"
STYLE="position:absolute;TOP:0pt;LEFT:0pt;width=103;
height=28;Z-INDEX:2;visibility:hidden;">')
    document.write('</div>')
</SCRIPT>
【运行效果】

【难点剖析】
本例的难点在于如何捕获鼠标的位置。本例通过event.clientX和event.clientY获取鼠标的x和y 坐标,然后设置图片的隐藏和显示,以达到图片跟随鼠标的效果。
【源码下载】
本实例JS代码下载
……