Step by Step的SharePoint 2016 安装图解,下面可以开始你的SharePoint 2016之旅啦
Windows操作系统作为优秀的操作系统,由开发操作系统的微软公司控制接口和设计,公开标准,因此,有大量商业公司在该操作系统上开发商业软件。
今天搭建了SharePoint 2016 RTM环境,整理出来具体的安装步骤图解供大家参考使用,主要就是一步步的截图及Configuration。
下面我们就来看下具体的安装步骤:
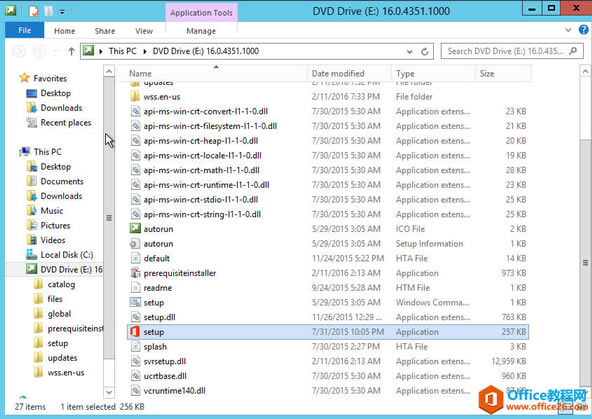
- 下载安装包解压,找到Setup并双击;
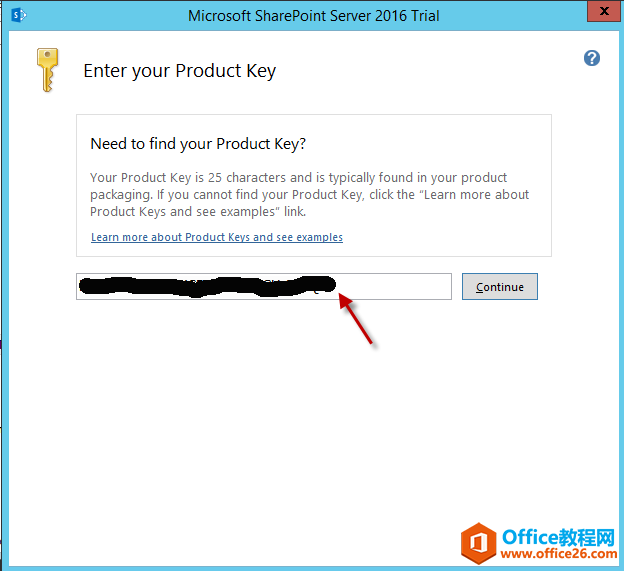
- 在弹出页面输入Key值,点击Continue安装;
- License协议中勾选Accept,点击Continue继续;

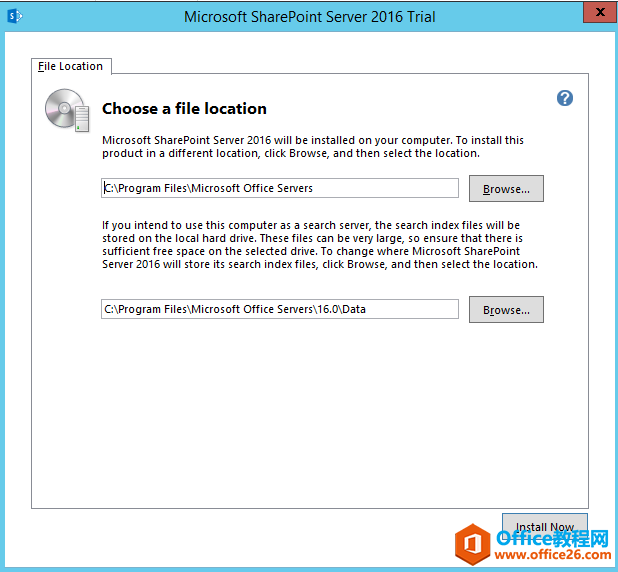
- 设置file location,默认即可,直接点击Install Now;
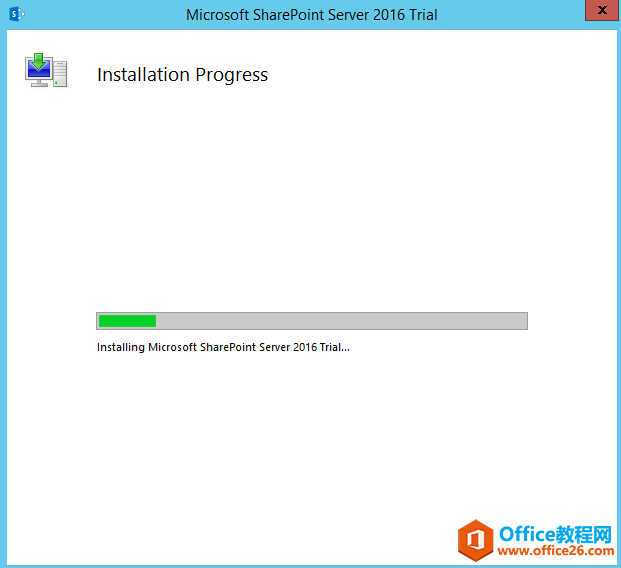
- 等待安装过程;
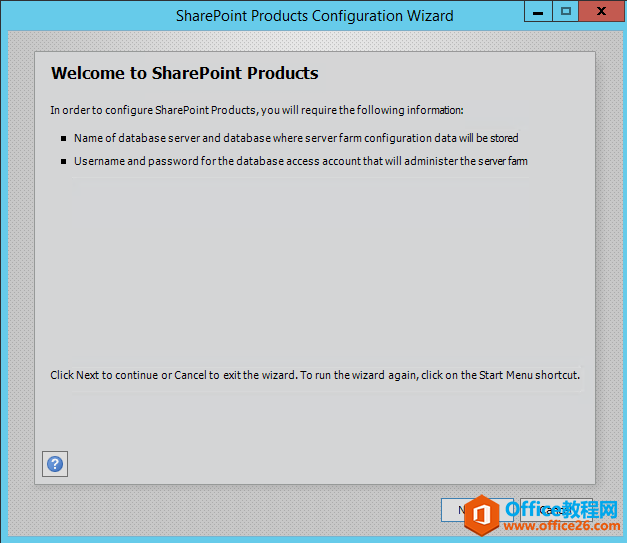
- 完成后,弹出Configuration Wizard页面,直接点击Next;
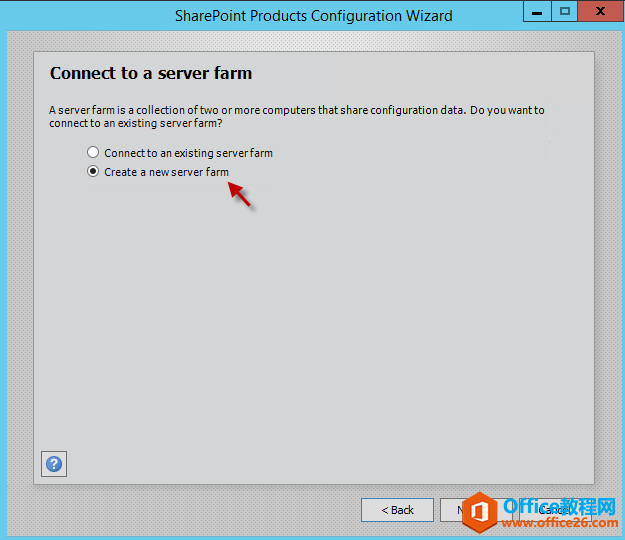
- 此次新建Farm,选择“Create a new server farm”;
如果是对已经存在的SharePoint Farm添加Server可以选择“Connect to an existing server farm”;
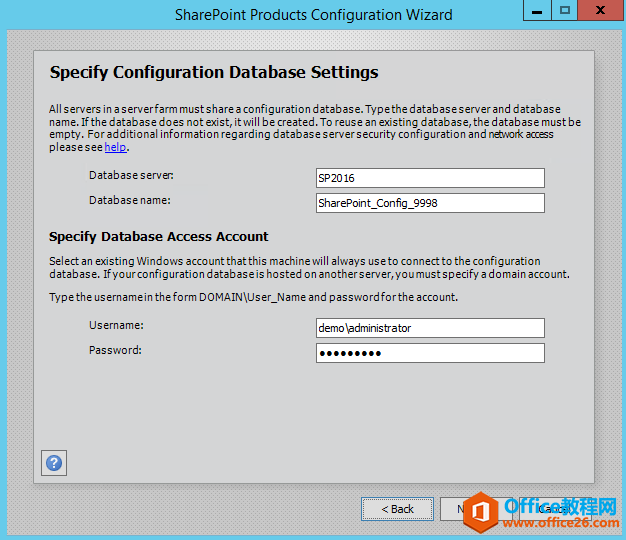
- 填写SharePoint Server配置需要的Database Server和Database Name,及使用的用户名、密码;
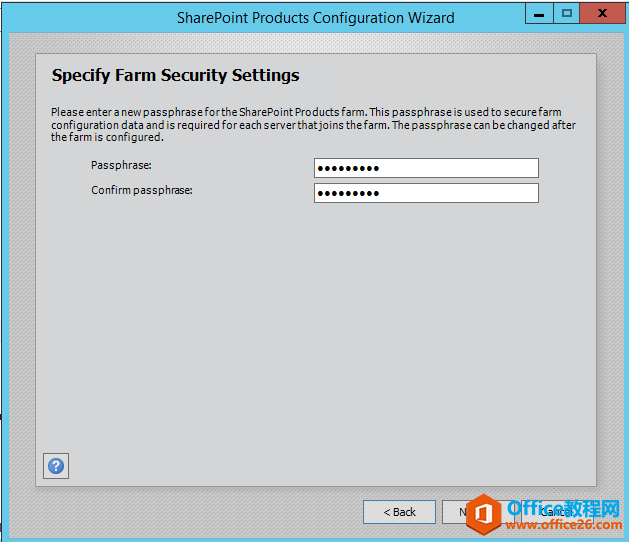
- 设置Farm的Security Settings,此处填写的密码用于之后添加Role Server连接认证使用;
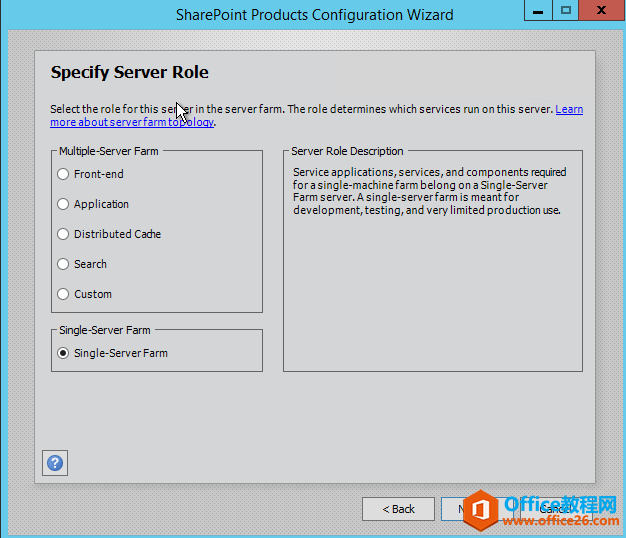
- 此处选择需要的Server Role,点击Next;具体使用哪种及各个之间的作用请到之前整理的blog中查看;
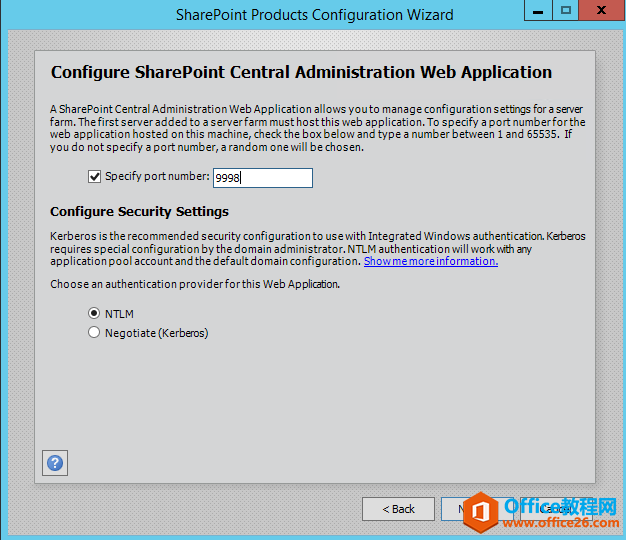
- 填写Central Administration使用的端口,可以自定义设置也可以随机产生,此处我选择了设置固定的值;
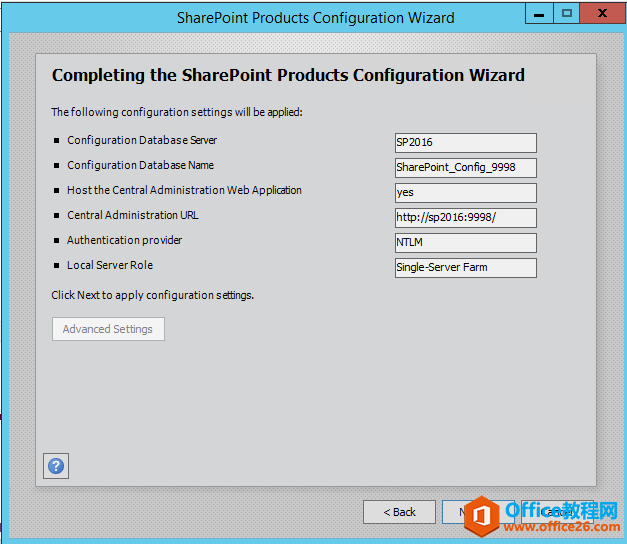
- Overview页面显示配置信息,没有问题点击Next进行配置;
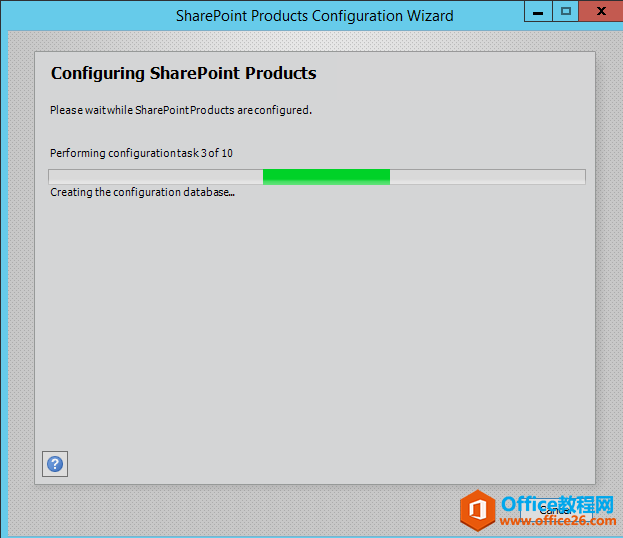
- 等待配置直至完成;
- 打开SharePoint验证,安装成功。在打开SharePoint时候会弹出Configuration Wizards提示配置Service Application,可以根据实际需要选择配置哪些Service。

Windows操作系统对硬件支持良好。
……